
Step 1: Gather your supplies
- Smooth paper
- Zebra Mildliner Double Ended Highlighter: Choose two colors, one light and one dark
- Zebra Zensations Technical Drawing Pen

Step 2: Hand letter your word(s) using monoline letters
With the lighter colored marker, begin by writing a word using monoline letters. Monoline letters have a single line weight, unlike calligraphy, which has thin upstrokes and thick downstrokes. The Mildliner Double Ended Highlighter is perfect for this lettering style because it is easy to create thicker lines with the chisel tip and the bullet tip is great for coloring the shadows. We will go over shadowing later in this tutorial. I chose blue as my base color and dark blue for my shadows.

Step 3: Outline the Downstrokes
Next, outline your downstrokes. I used the Zensations Technical Drawing Pen in size 0.4 but you can use whatever size you have. The Zensations Technical Drawing Pen is helpful at achieving thin, precise lines. If you are not sure where your downstrokes are, rewrite your word try to take notice of when your hand moves your pen in an upward and downward motion.

Sometimes, it might be difficult to know where to curve and finish your downstroke outlines. Remember, this is ribbon lettering, so if you get stuck, take out a piece of ribbon or a shoelace and use it as a visual aid. Use the ribbon to form a letter like I show in the photo. In this example, I took a piece of ribbon and held it next to where I wrote the letter “r,” and then shaped it to look like the letter. With this little trick, you can see where the ribbon folds. I usually have my upstrokes as the back of the ribbon and the downstrokes as the front of the ribbon. It is very important to keep this consistent, otherwise your ribbon letters will look tangled.

Step 4: Outline the Upstrokes
After you have outlined all your downstrokes, go back and outline your upstrokes with the same tool you used previously. I am using the Zensations Technical Drawing Pen again here. It is not necessary to outline your up and downstrokes separately, but it does help allow you to remember which part of each letter is the back and front of the ribbon more easily.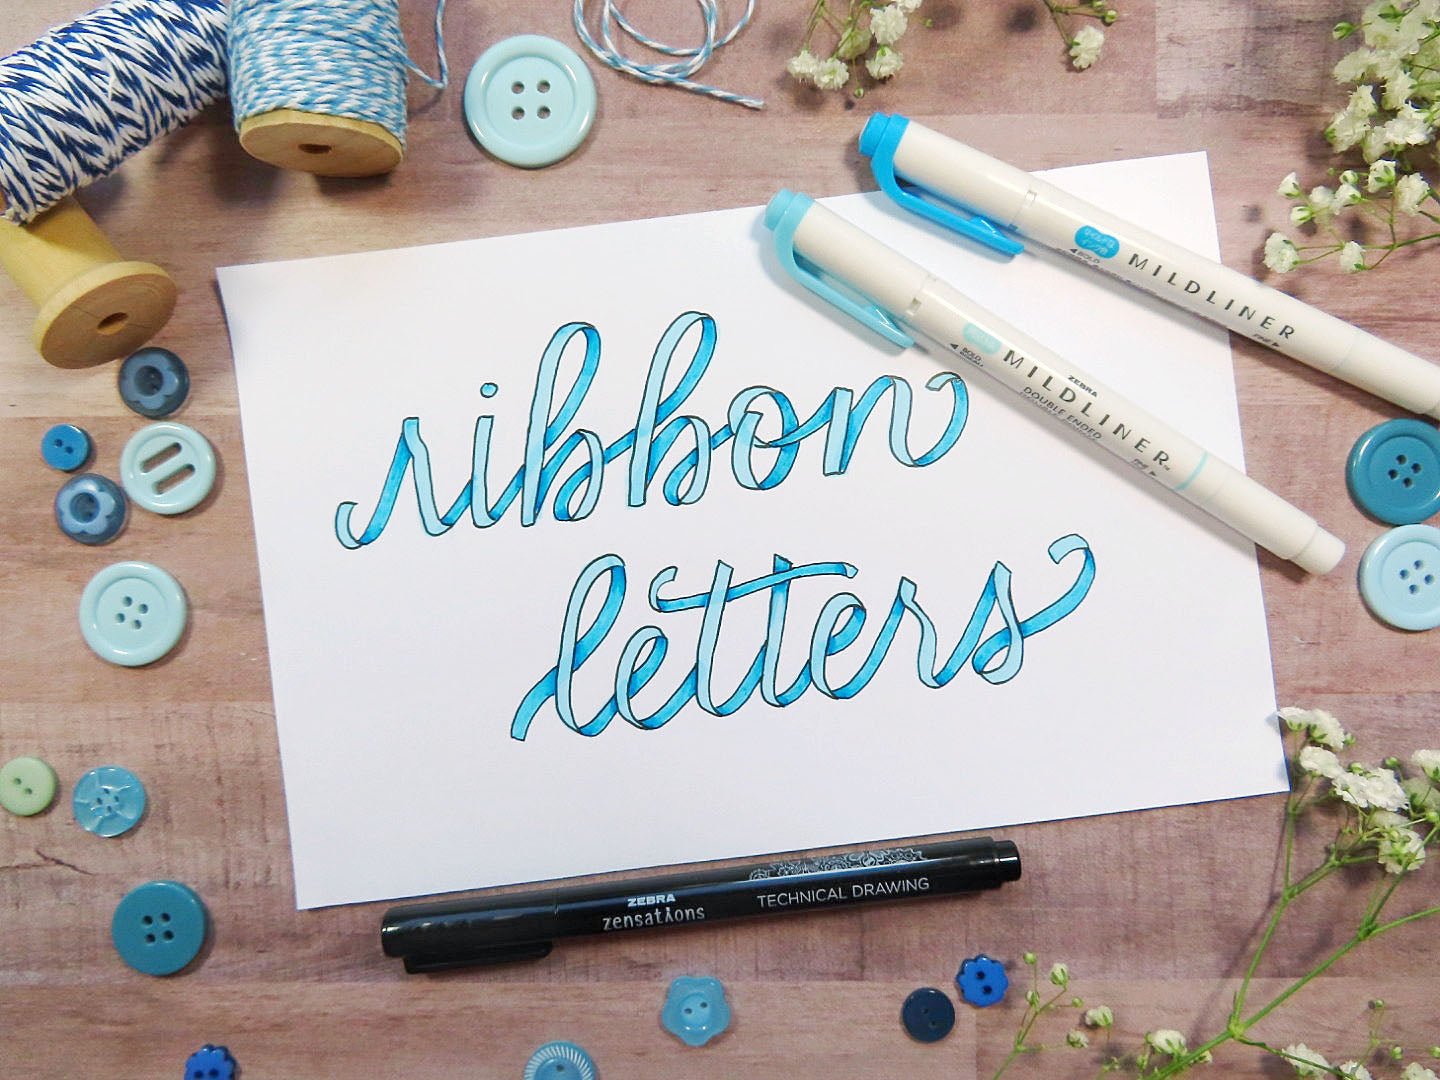
Step 5: Add Shadows
Now that your letters are outlined, it is time to add shadows. Remember, the upstrokes are to act like the back of the ribbon; this is where we create our shadows with the darker colored marker. Add a little section of darker color where the back (upstroke) of the ribbon meets the front (downstroke) of the ribbon. Notice in the photo where I add a little darker color to the letter “l.” With the lighter color marker, blend out the darker color throughout the stroke. For this process, I used a darker shade of Mildliner Double Ended Highlighter. Repeat this step for each letter.