Hello, it's Kelsey Seufer of the @livelifecreatively.co Instagram Page. Today, I’m going to be teaching you how to make bold lettering and calligraphy pop on black paper.
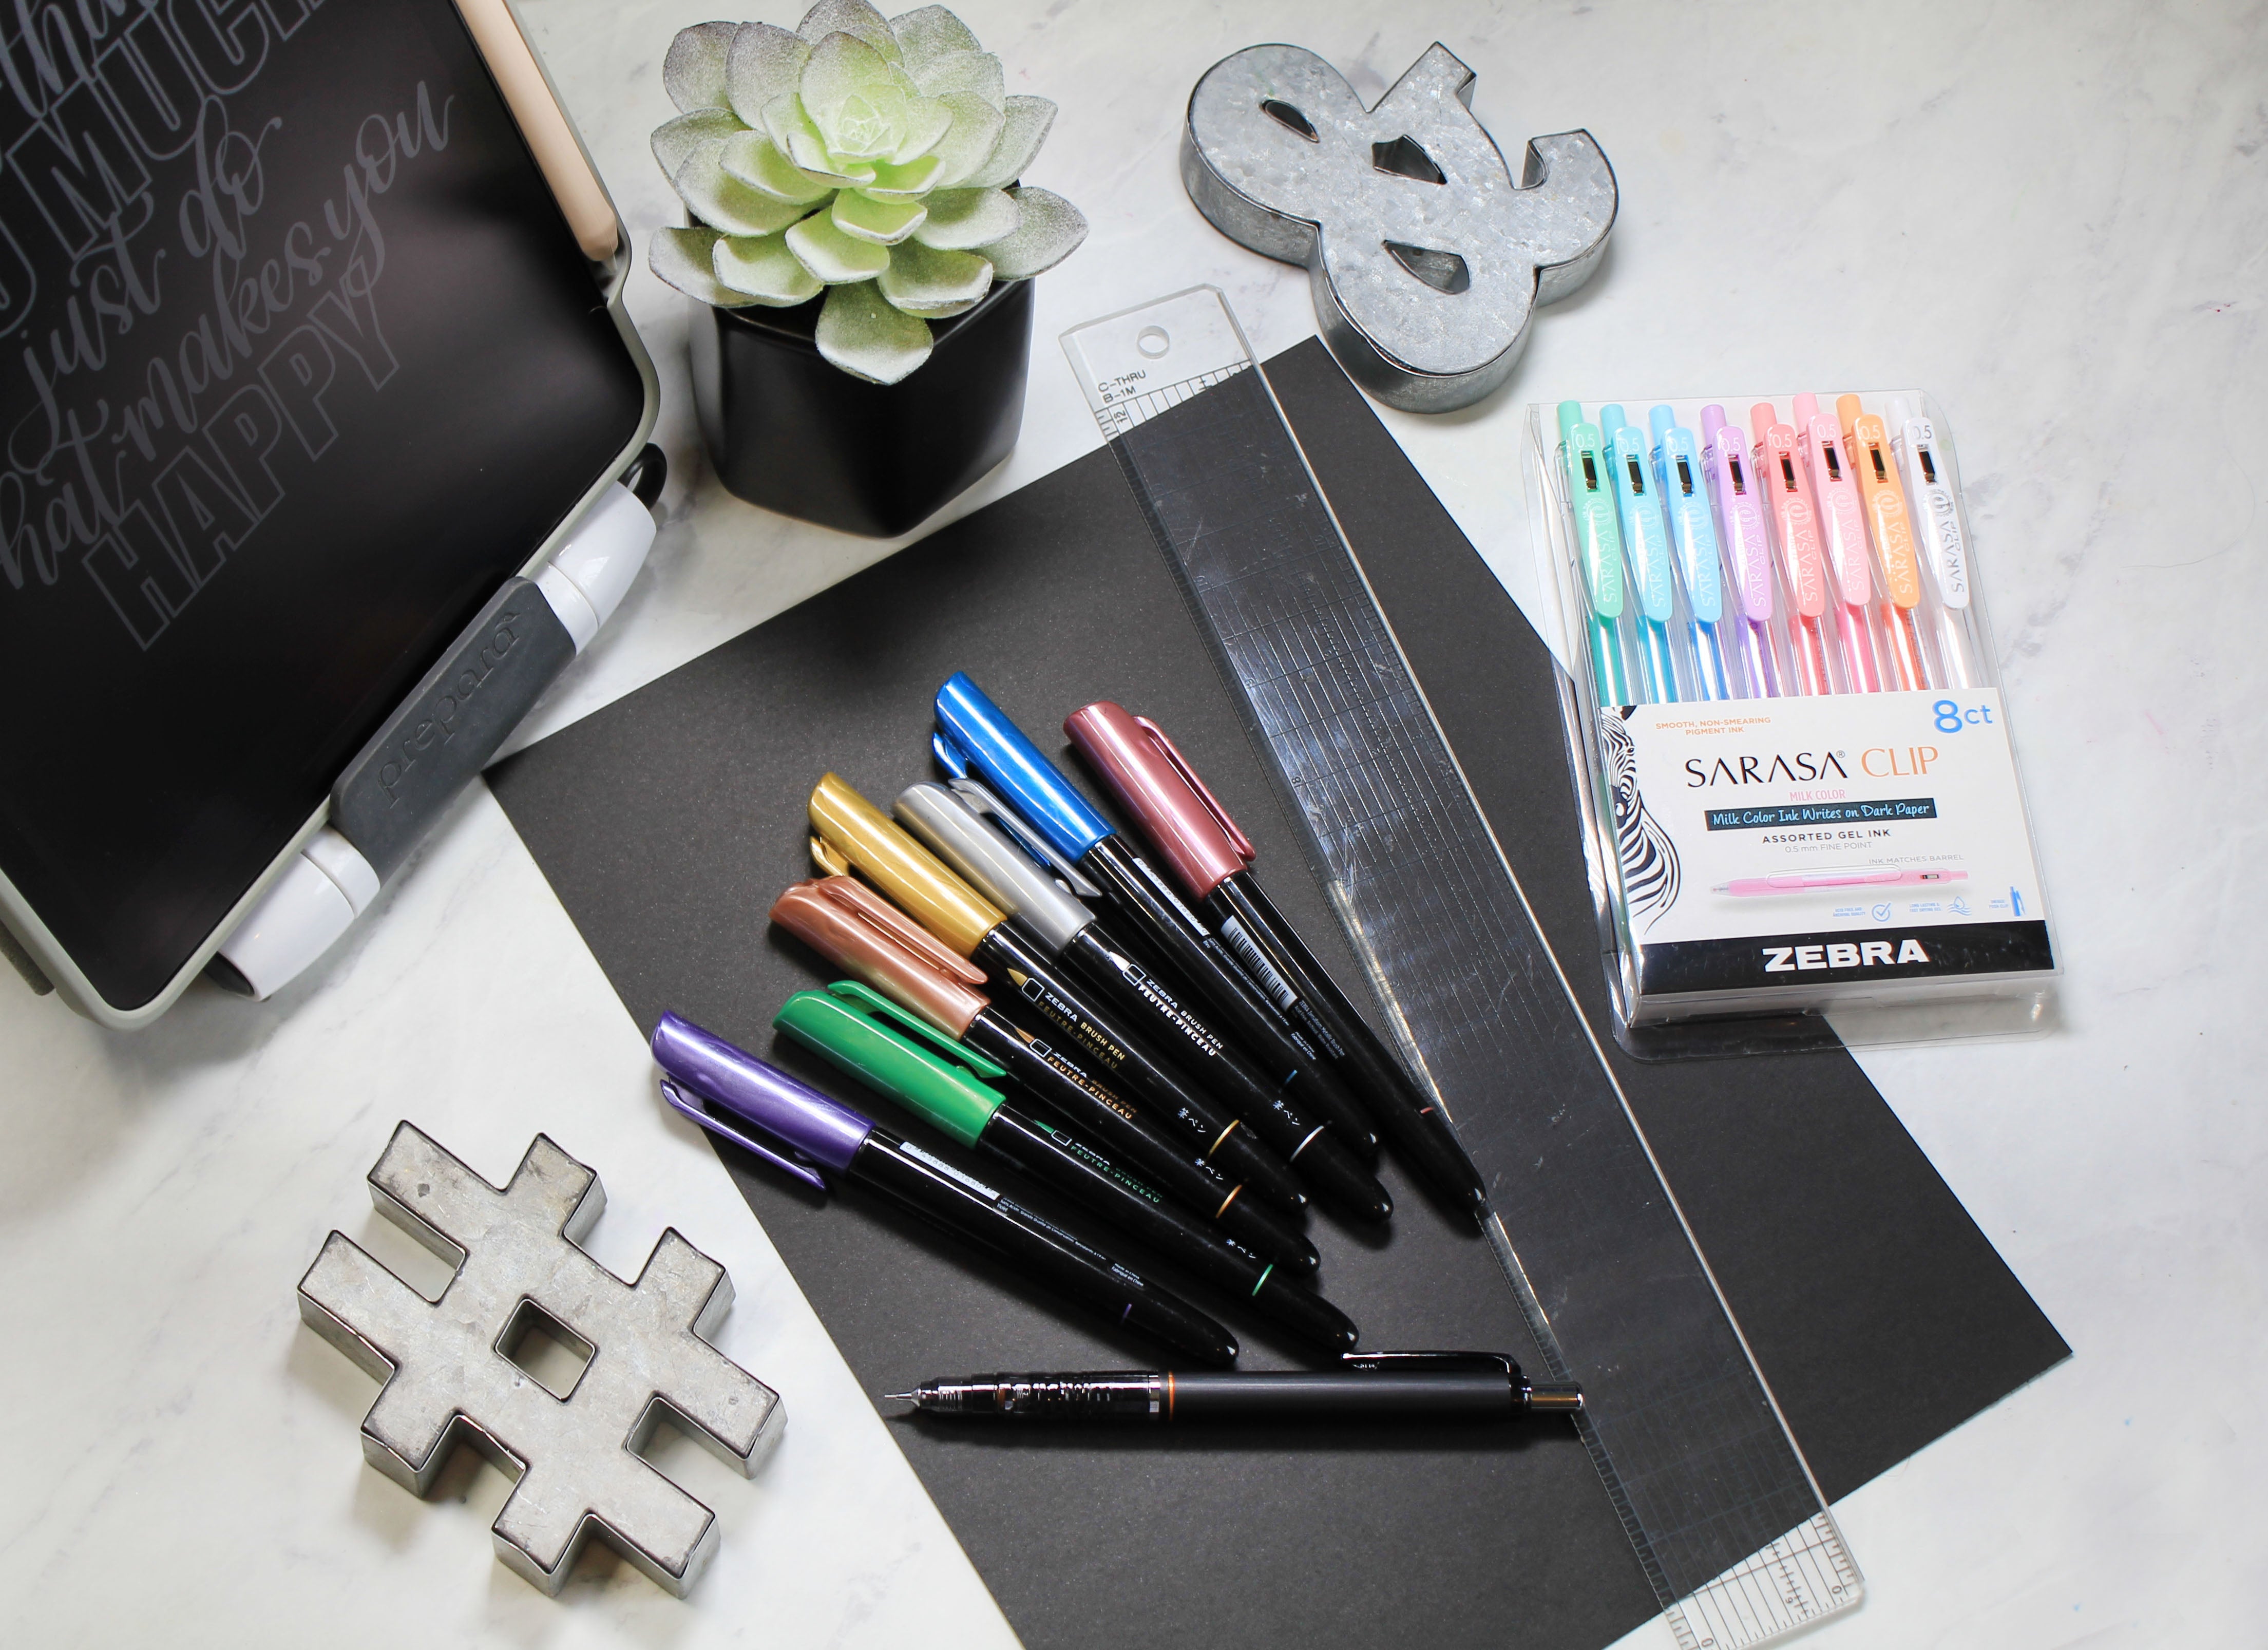
Step 1: Gather All of Your Supplies
For this tutorial, I will be using the following products:
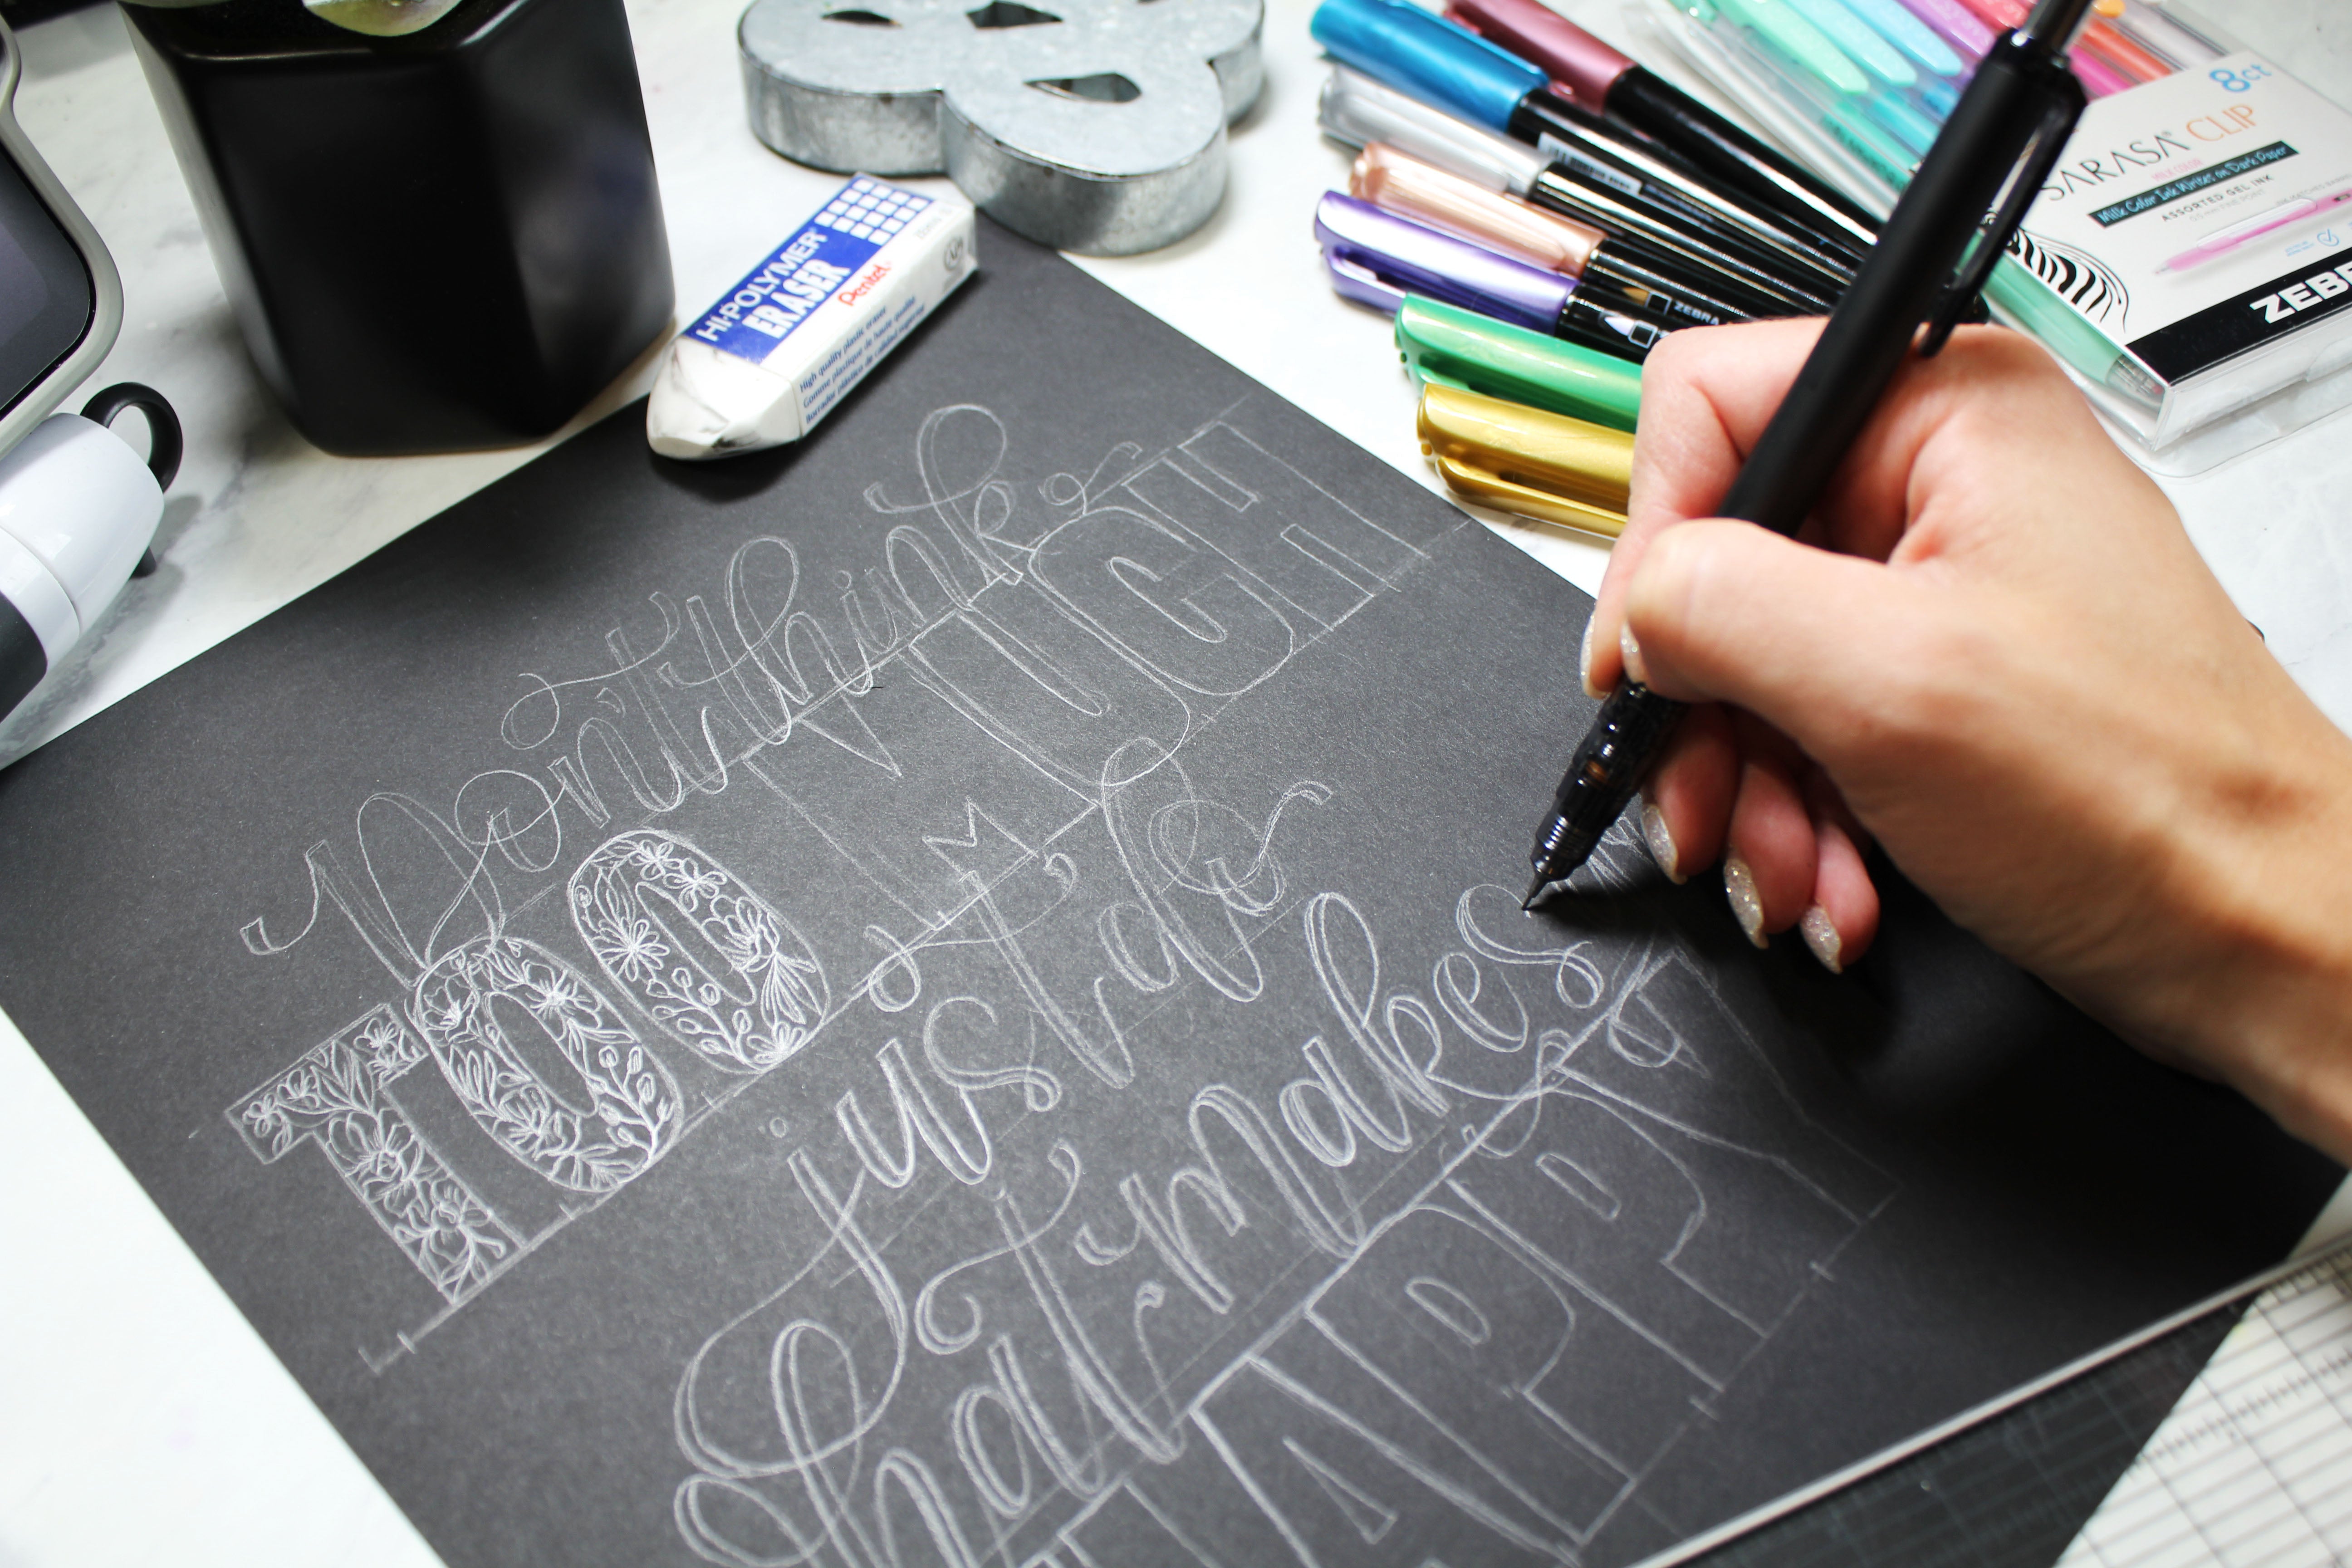
Step 2: Plan and Sketch Your Design
The first step is to begin sketching out your design on paper with a ruler and pencil. I used the
Zebra DelGuard Mechanical Pencil and created a contrast between a hand written calligraphy and big bold letter outline. Drawing the faux calligraphy in pencil will allow you to make sure that you have enough room for all your letters. I plan to fill the bold letters with various floral drawings.

Step 3: Trace Over Your Calligraphy with Zebra Metallic Brush Pens
The next step is to begin tracing over your calligraphy with Zebra Metallic Brush Pens. You can choose as many colors as you’d like, but I recommend choosing 3 or 4 colors in total. This technique involves switching the color for every stroke. Wherever you would naturally pick up the pen is when you would switch colors. You can also switch colors every letter or word.

Step 4: Draw Floral Designs Inside the Block Lettering
Next, it's time to begin drawing floral designs and patterns inside of the bold lettering. I used Zebra Sarasa Clip Retractable Gel Pens in the Milk Pack to create these simple drawings. Choose as many colors as you want to use in your florals. In this example, I chose the same three tones to match the Zebra Metallic Brush Pen lettering. For floral design inspiration, I used the Botanical Line Drawing Book by Peggy Dean of The Pigeon Letters. Pro tip: To save time draw all of one color at once and then change pens.

Step 5: Outline Block Letters
To make your block lettering pop, use the Zebra Metallic Brush Pens to outline the bubble letters. This really gives the letters their shape. I recommend using a color that is distinctively different than the floral patterns to really make them stand out.

Step. 6: Erase Pencil Marks and Touch Up Your Work
To finish off your design, use your eraser to remove pencil marks. Be careful erasing around the metallic ink. Additionally, you can touch up your artwork by using the Zebra Metallic Brush Pens or Sarasa Clip Retractable Gel Pens to clean up any spots that need that extra detail.

Step 7: Display your Artwork
The final step is to admire and display your beautiful piece! Tag me and Zebra Pen on Instagram if you choose to recreate this design!
For a printable PDF version of this tutorial, visit our Creative Activities and Tutorials Page. For more calligraphy inspiration, visit Shelley Hitz's guest blog post on Brush Lettering for Beginners.
