By: Hazel Ung of @hazels.pineapple.patch
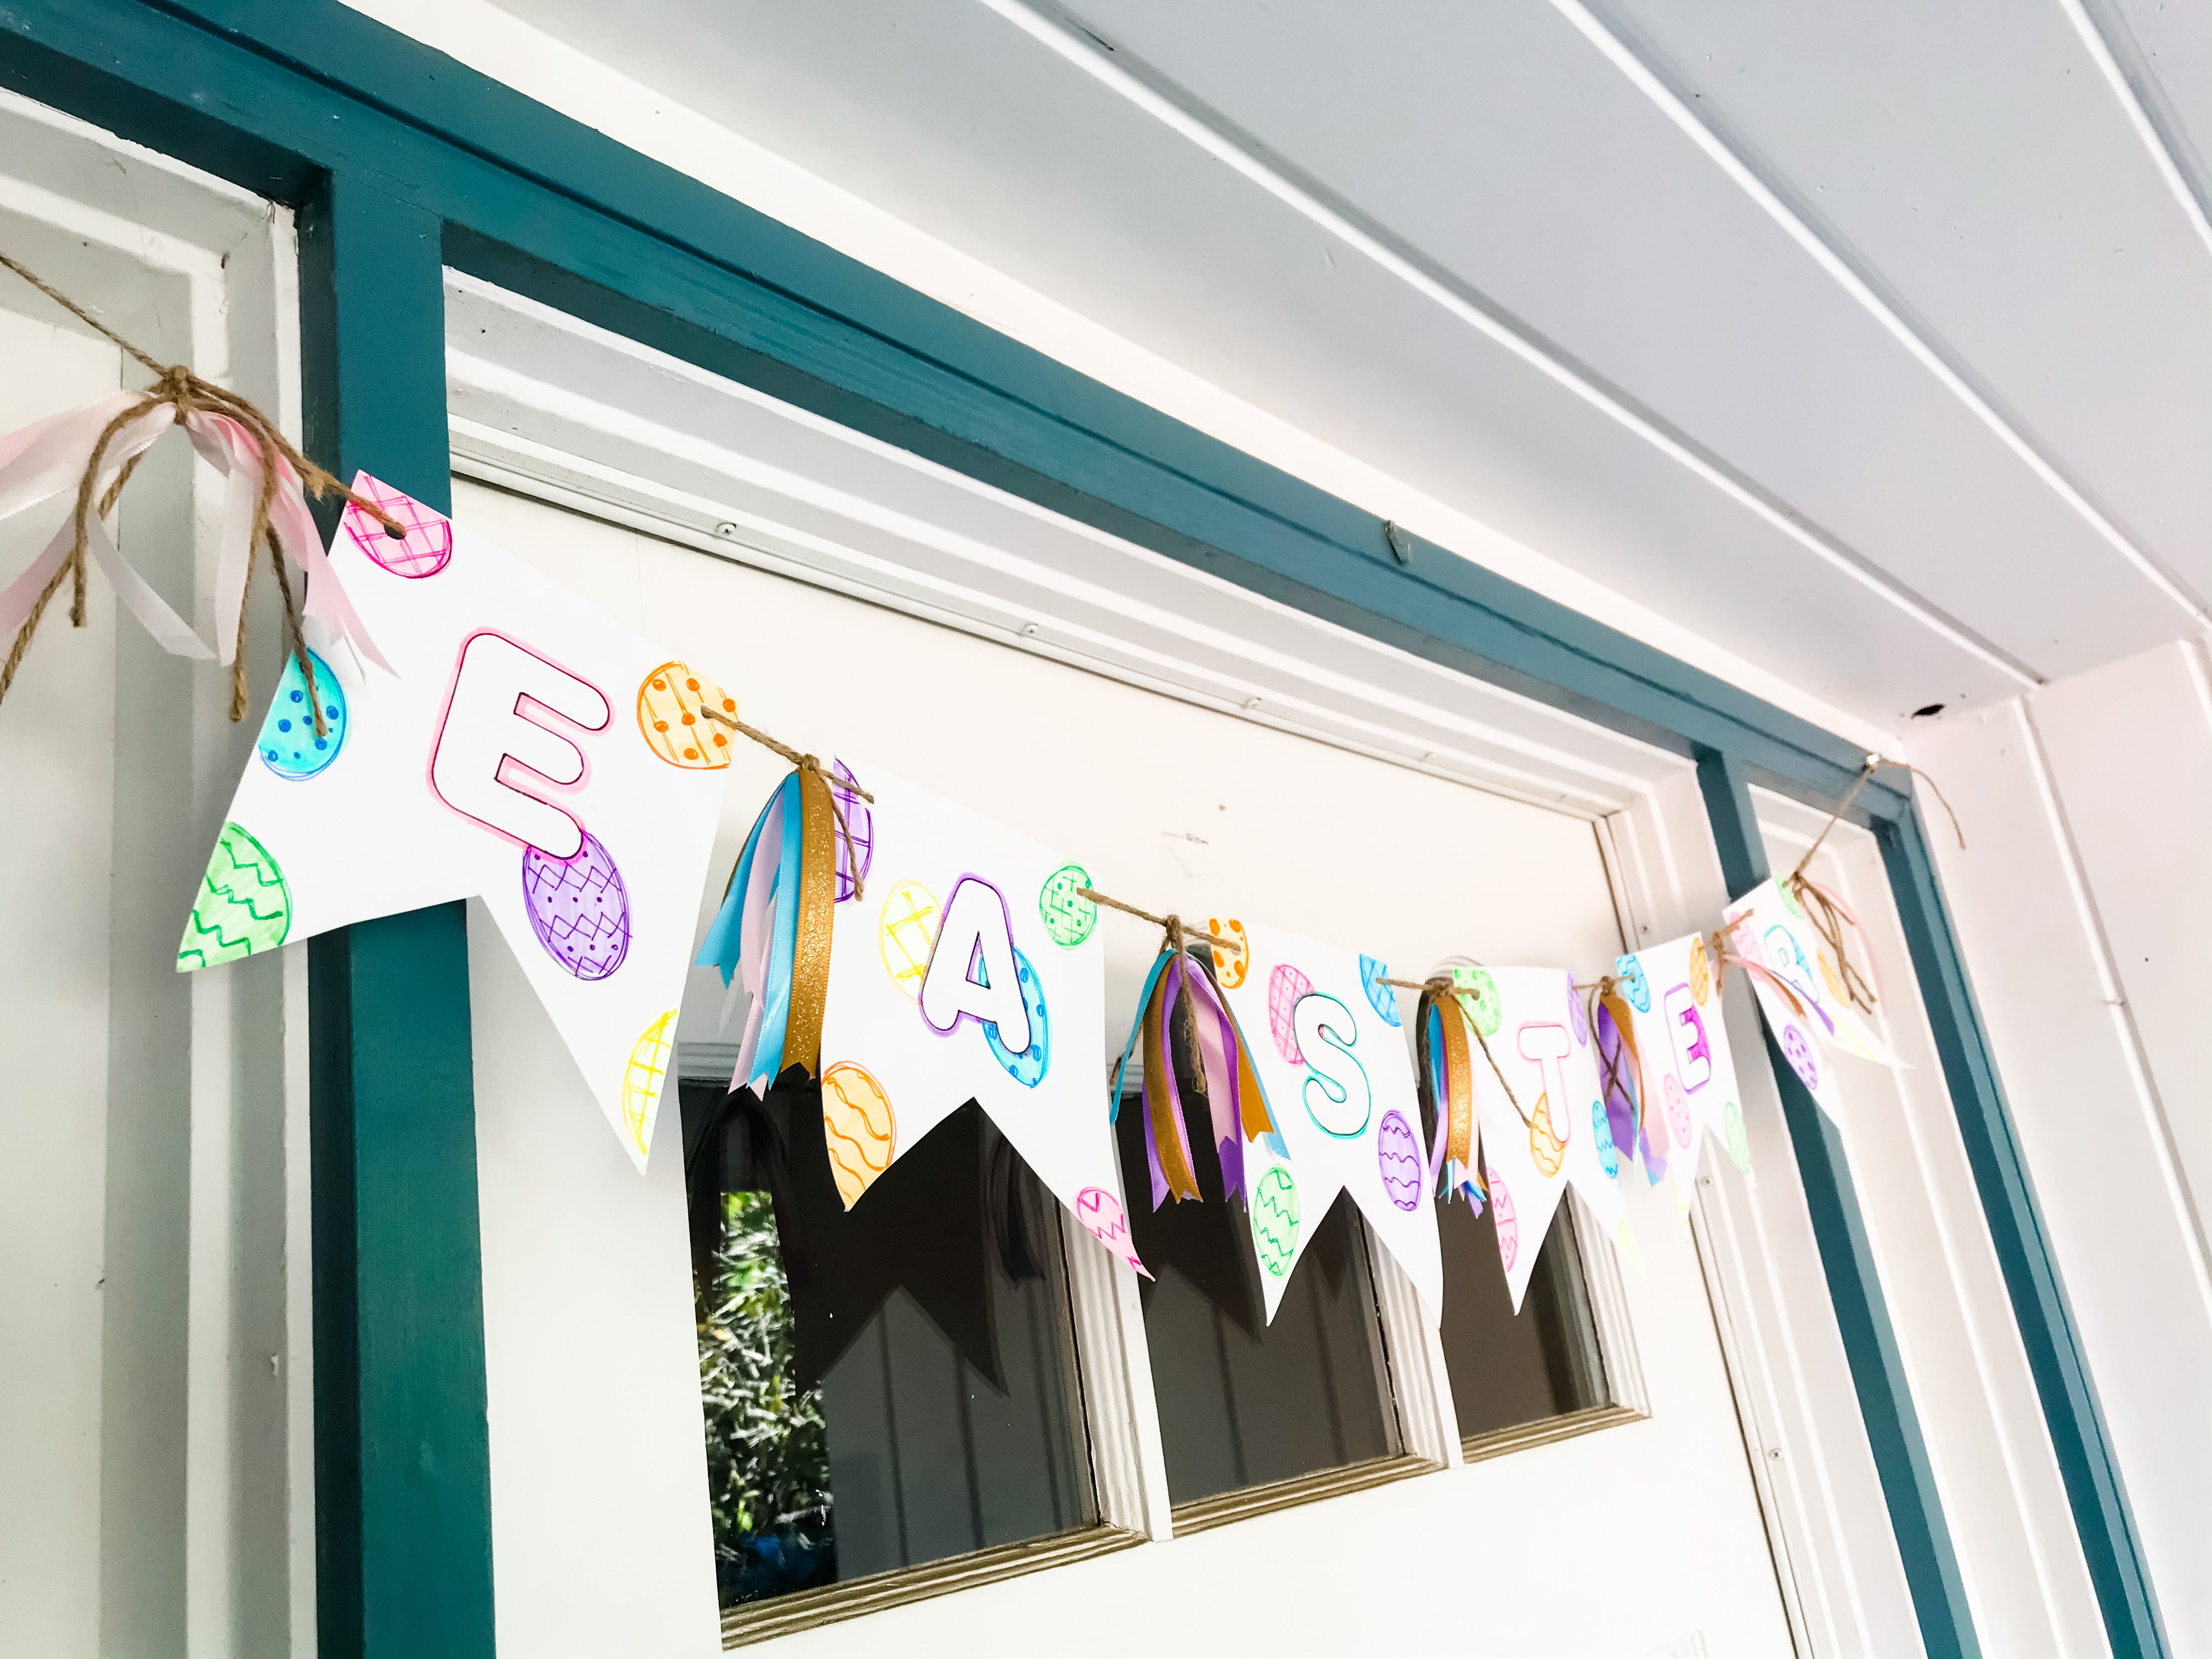
Hello Spring! It’s that time of year, when the frost starts to melt, and the flowers begin to bloom. It’s also that time of year when we celebrate Easter. With family and friends gathering for this occasion, it’s always a fun idea to create festive décor to add to the celebration. Today I’ll be showing you how to create this festive Easter banner using a few simple materials.
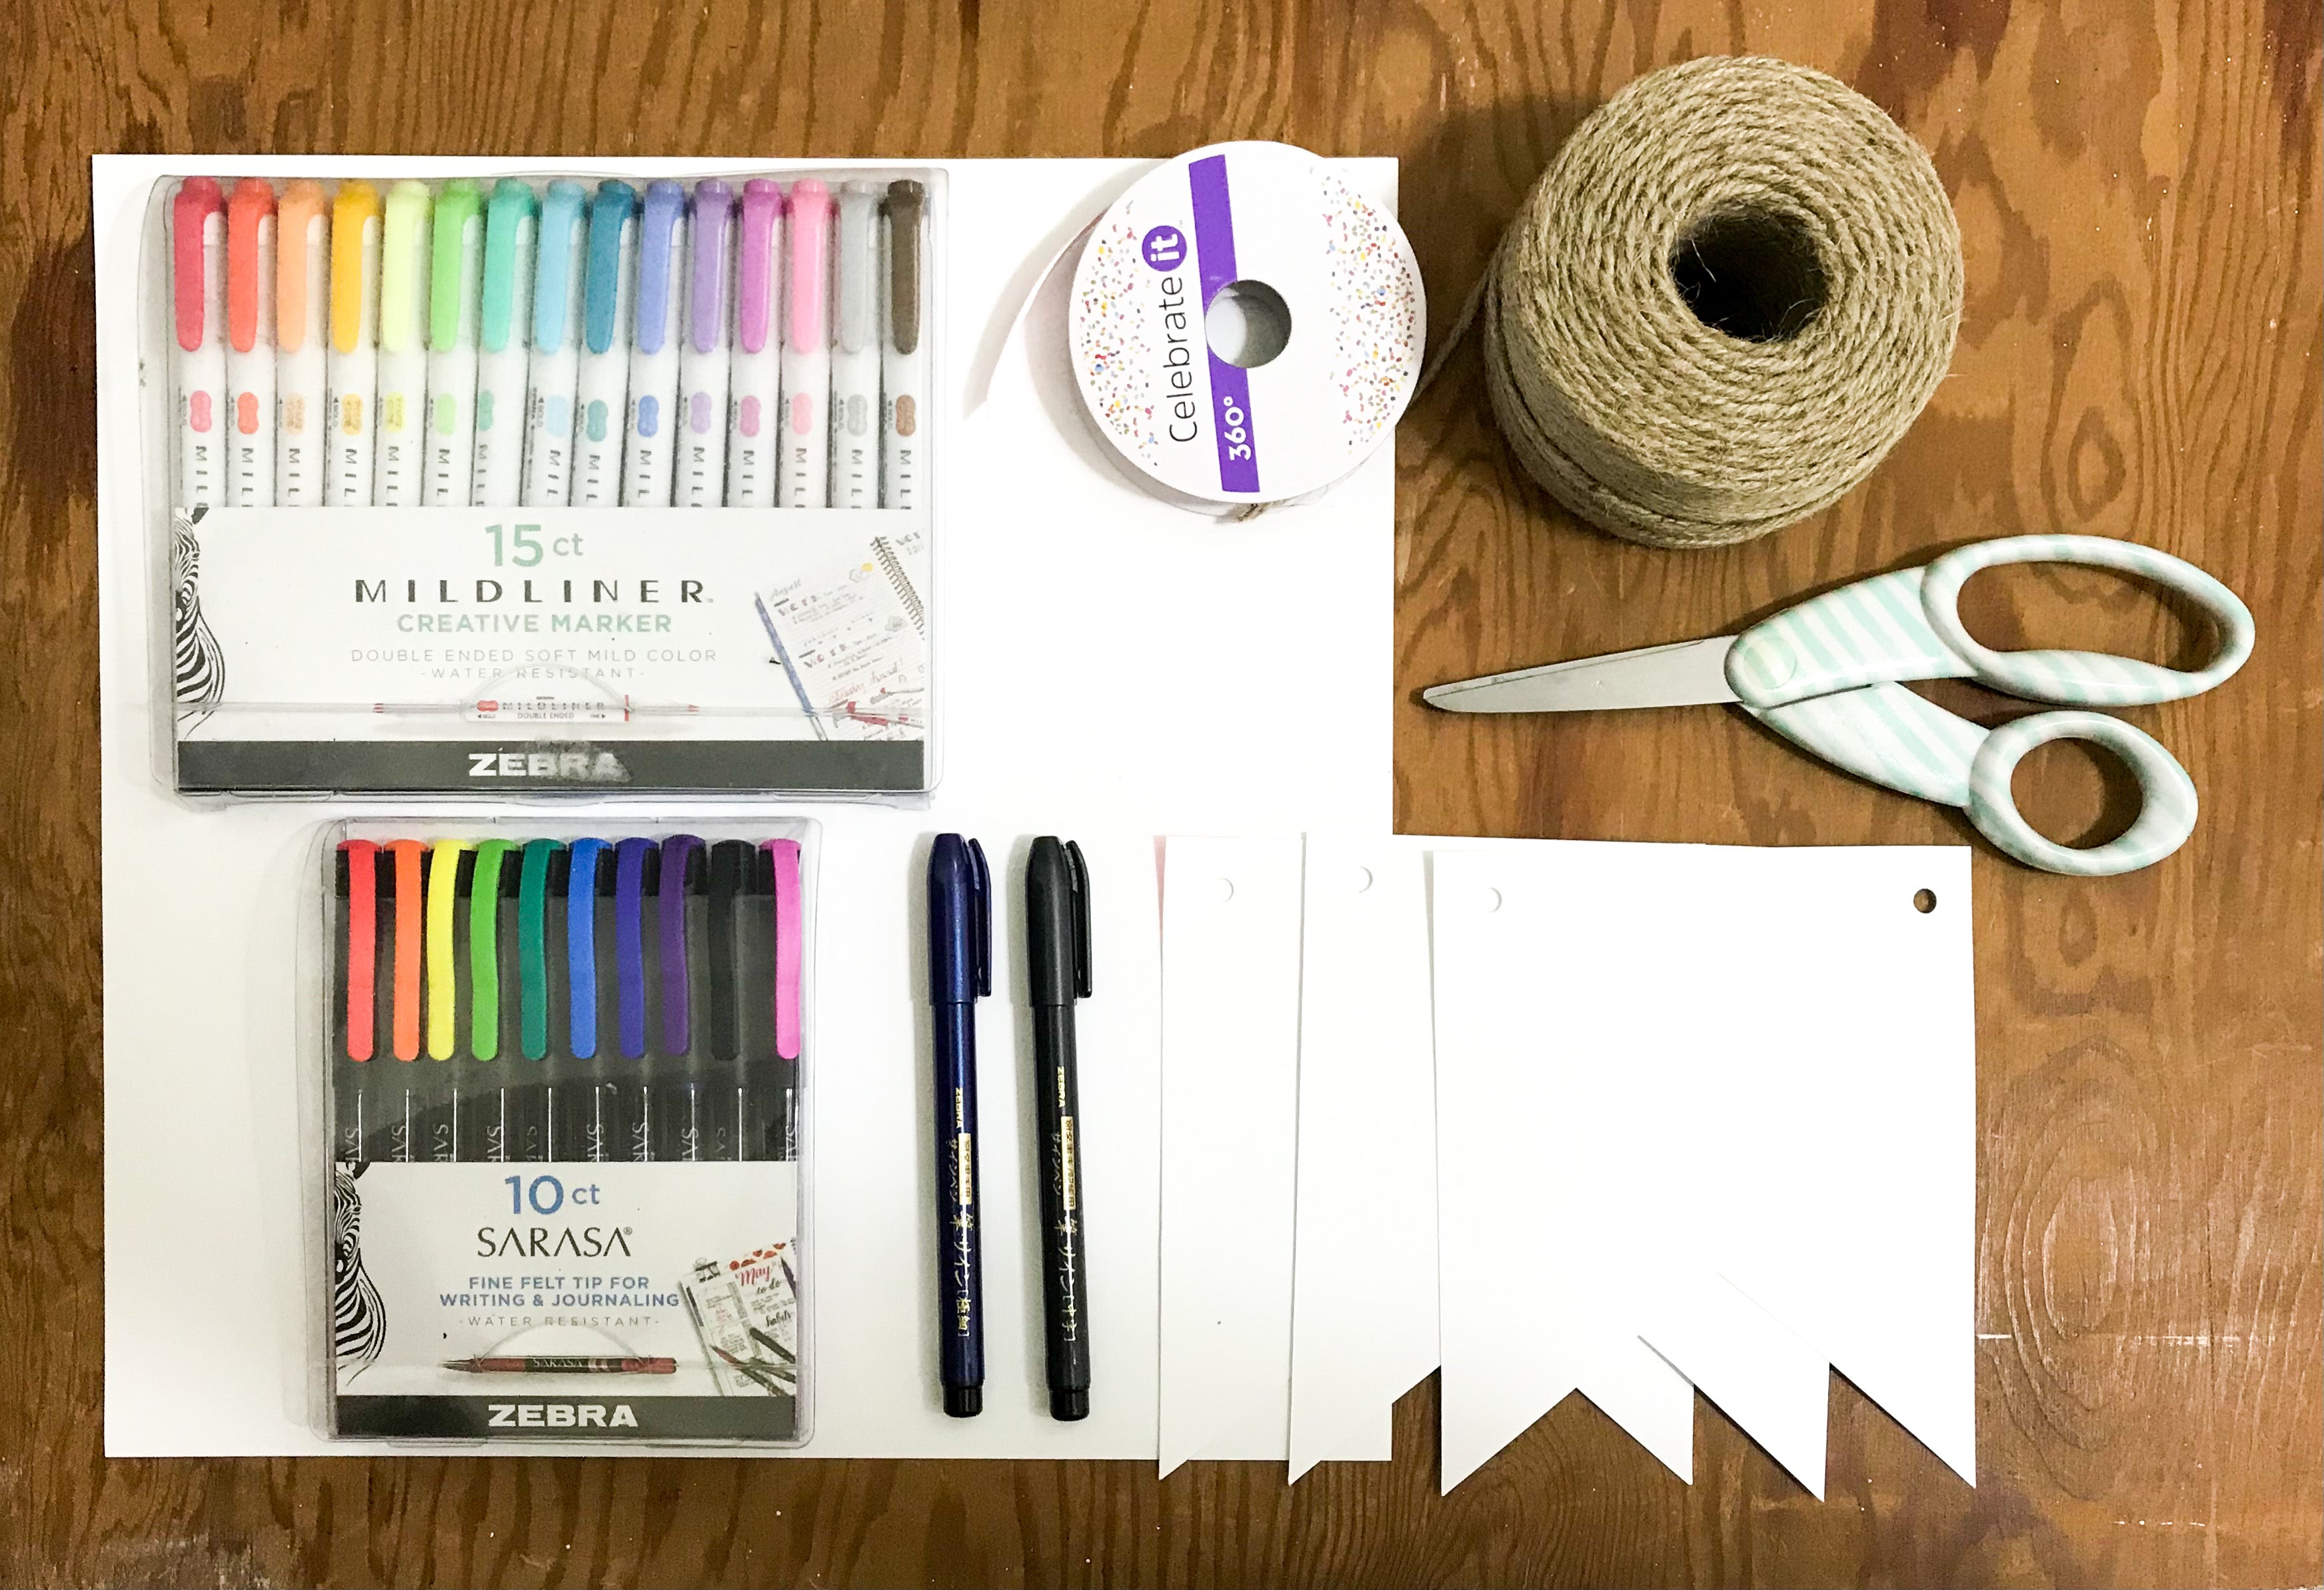
You can buy a paper/cardstock banner (already shaped), or you can make your own using white cardstock. If you love to craft, having white cardstock handy is a must for simple projects like this one. You can create a banner-shaped stencil and then use it to create as many cutouts as you need. Once you have cut out all your pieces, you can punch the hole at the top corners.
Step 2: Let’s get creative with your banner
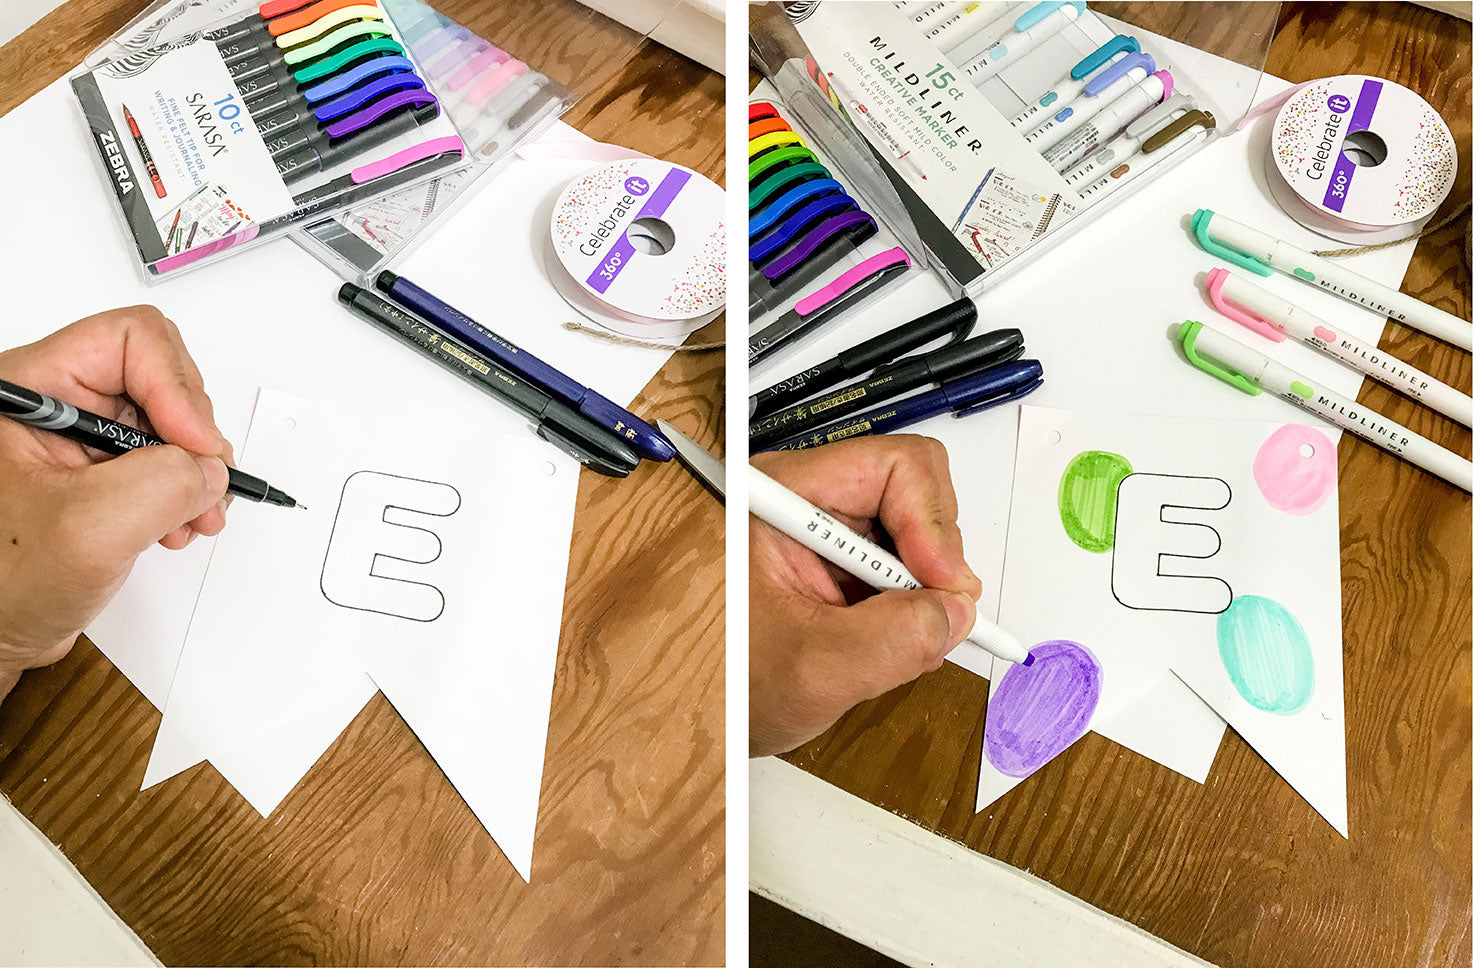
I started off by lettering the individual banner pieces with each letter to spell E A S T E R. I used the Sarasa Fineliner in Black to create a block letter and then outlined it with a pastel colored Mildliner Highlighter. The Zensations Brush Pen would also work great for outlining your letters if you prefer a bolder outline. I alternated 3 different colors to keep it bright and festive.
Here’s a tip: You can use an alphabet stencil if you need help with creating your block letters.
Since it’s Easter, I chose a theme of “Eggs.” The pattern was simple yet cute and festive. Whatever you decide, you get to create it! I used the Sarasa Fineliners & Mildliner Highlighters to add a colorful pattern to my banner.
Step 3: Assemble your banner
Now you can put your banner together. Get your twine or ribbon and weave it through the holes that you punched out at the top of your cutouts. Looking at your cutout, weave the end of your twine or rope from the front left hole, pull through and weave it back into the right hole pulling from the back to the front. Repeat this with each cut out.
Step 4: Add embellishments
Once you’ve weaved your twine through, you can add embellishments to your banner. I attached ribbon tassels in between each letter. It gave the banner some dimension and tassels are perfect for any celebration.
Banners look amazing on a mantle or even an entry way. Whatever you decide, it will make your occasion a little more personal and create a memorable experience. For more spring-themed crafts, check out How to Draw a Baby Chick in 7 Easy Steps.

 Since it’s Easter, I chose a theme of “Eggs.” The pattern was simple yet cute and festive. Whatever you decide, you get to create it! I used the Sarasa Fineliners & Mildliner Highlighters to add a colorful pattern to my banner.