
By: Shelly Kim of @lettersbyshells It’s time to create some colorful, fun napkin tags! These are perfect for any Spring-themed occasion including table setting decor. Today, we will be exploring different techniques and illustrations from painting leaf patterns to drawing carrots and so much more!

Materials Needed:
- Mildliner Highlighters or Mildliner Brush Pens
- Watercolor or Mixed Media Paper
- Zensations Brush Pen (Fine or Medium) + outlines (optional)
- Round Paintbrush + Water (Projects 1 + 2)
- Ceramic Dish (Project 1)
- Ribbon
- Hole Puncher
- Scissors
- Tape
- Colorful Cardstock Paper for the backing (optional)

Print Your Napkin Tag Templates
Using the napkin tag template, print and cut the tags on watercolor, mixed media, or cardstock paper. Optional: Using another sheet of cardstock (preferably a fun/colorful sheet to create contrast), create and cut some tags a little larger than the ones from the template. This will be the backing of the tag.
Project 1: Leaf Pattern Napkin Tags

Step 1: Color Your Ceramic Dish
Draw a few strokes on the ceramic dish using the Mildliner Highlighters or Mildliner Brush Pens. Feel free to choose any colors. I’m using the colors Green and Teal here in the Mildliner Highlighters.
Step 2: Add Water to Create Watercolor Paint
Dip your paintbrush in water and then start blending the colors on the ceramic dish.
Step 3: Create a Leaf Stem
Paint a light upstroke using your paintbrush to create the stem for the leaves
Step 4: Add A Leaf Design
To create the leaves, paint a teardrop/almond shape starting at the top of the stem upwards and along the side of the stem from right to left or vice versa.
Step 5: Paint More Leaves
Start painting a few more leaves in different directions/angles to create a fun all-over leaf pattern.
Step 6: Fill the Negative Space
Yay, just keep painting! Paint a few more leaves to fill the negative space.
Step 7: Add Calligraphy
Once the leaf painting has dried, use the Zensations Brush Pen to hand letter anything you would like! It can be a name or first initial. Feel free to reference the lettering practice sheet for lettering inspiration and some guidance!
Step 8: Two-Leaf Variation (Optional)
Let’s create another leaf-themed tag! For this tag, let’s paint only 2 leaves at the bottom left-hand corner.
Step 9: Two-Leaf Variation (Continued)
Next, fill the negative space by hand lettering anything you would like using the Zensations Brush Pen. Note: Feel free to reference the lettering practice sheet for lettering inspiration and some guidance!Project 2: Watercolor Wash Napkin Tags

Step 1: Color the Bottom Edge of the Tag
Start by drawing a few strokes using the Mildliner Highlighter (any color) along one of the edges on the tag.
Step 2: Add Water to Create A Wash of Color
Let’s go ahead and create a wash finish by adding a generous amount of water using the paintbrush.
Step 3: Create A Soft Blend
Continue to add more water to create a soft blend and keep painting strokes from left to right.
Step 4: Create A Soft Finish
Start pulling the water towards the center and bottom of the tag to create a softer finish.
Step 5: Add Calligraphy to the Tag
After the wash finish has dried, hand letter anything you would like with the Zensations Brush Pen.Project 3: Carrot Illustration Napkin Tags

Step 1: Draw Carrots on the Tag
Let’s draw some carrots! Draw an upside-down triangle with a slight curve at the bottom using the Mildliner Highlighter or Mildliner Brush Pen. I drew 2 carrots next to each other.
Step 2: Draw the Carrot Tops
Next, draw 3 lines for the stems on top of the carrots.
Step 3: Draw Leaves
For the carrot leaves, draw a cluster of lines and circles on top of the stem.
Step 4: Create Carrot Outlines
Using the Zensations Brush Pen, draw some outlines of the carrots by offsetting them. For the stems and leaves, draw some swirls and lines for the details.
Step 5: Add Finishing Touches to the Carrots
Afterwards, draw some lines inside the carrot to add some more details.
Step 6: Full Carrot Design Variation (Optional)
For another design, create an all-over carrot pattern!Project 4: Confetti Pattern Napkin Tag

Step 1: Add Colorful Confetti Lines
For the confetti pattern design, draw lines randomly going in different directions using the Mildliner Highlighter. For this pattern, I also recommend using about 3 to 5 different colors.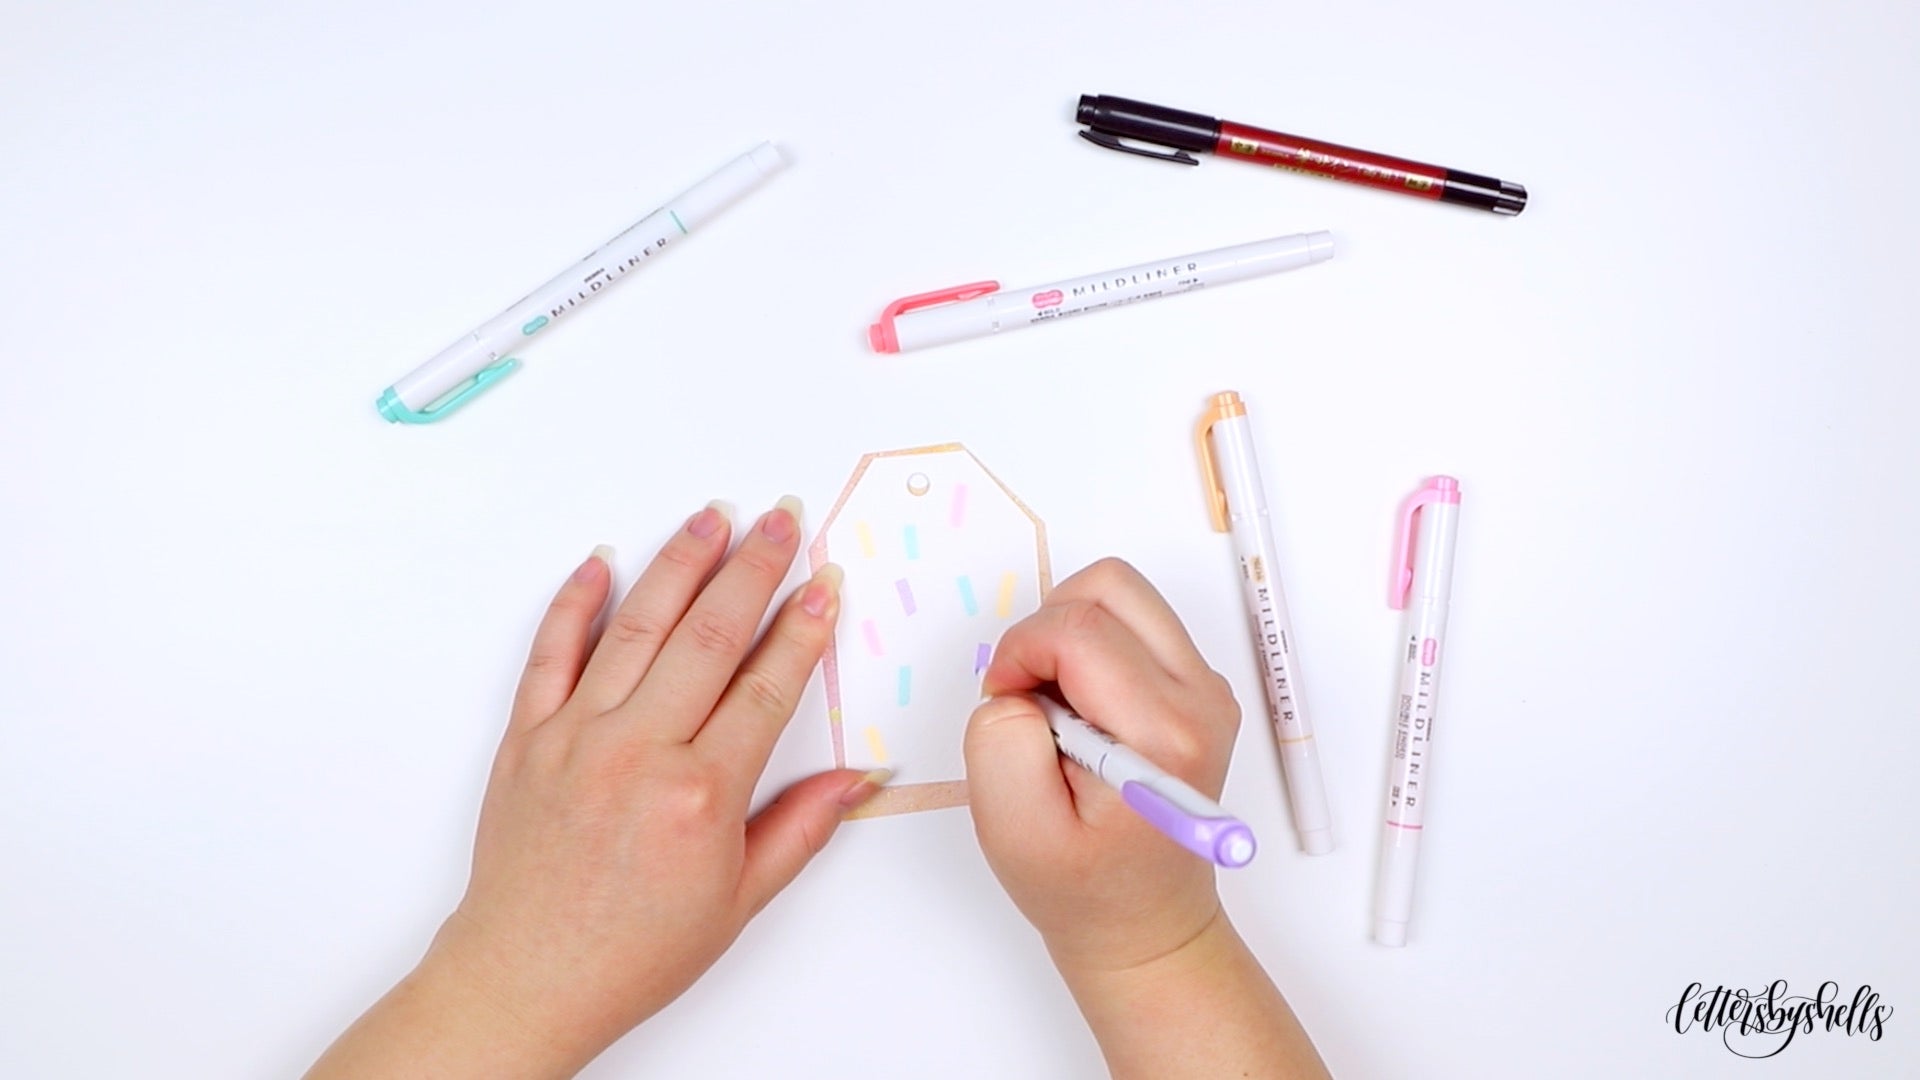
Step 2: Add More Color
Continue drawing more lines!