How to Create a Monthly Expense Tracker in a Bullet Journal
Hey, it’s Kiana from @abulletjournaladay! I’ve been bullet journaling for around two years and I’m currently a freshman at the University of Southern California. Now that I’m a student living away from home, it’s been important for me to track my spending. Today I’m going to be teaching you how to create an expense tracker to help you stay financially responsible and meet your goals.
Step 1: Gather All of Your Materials
For this tutorial, I will be using the following products:
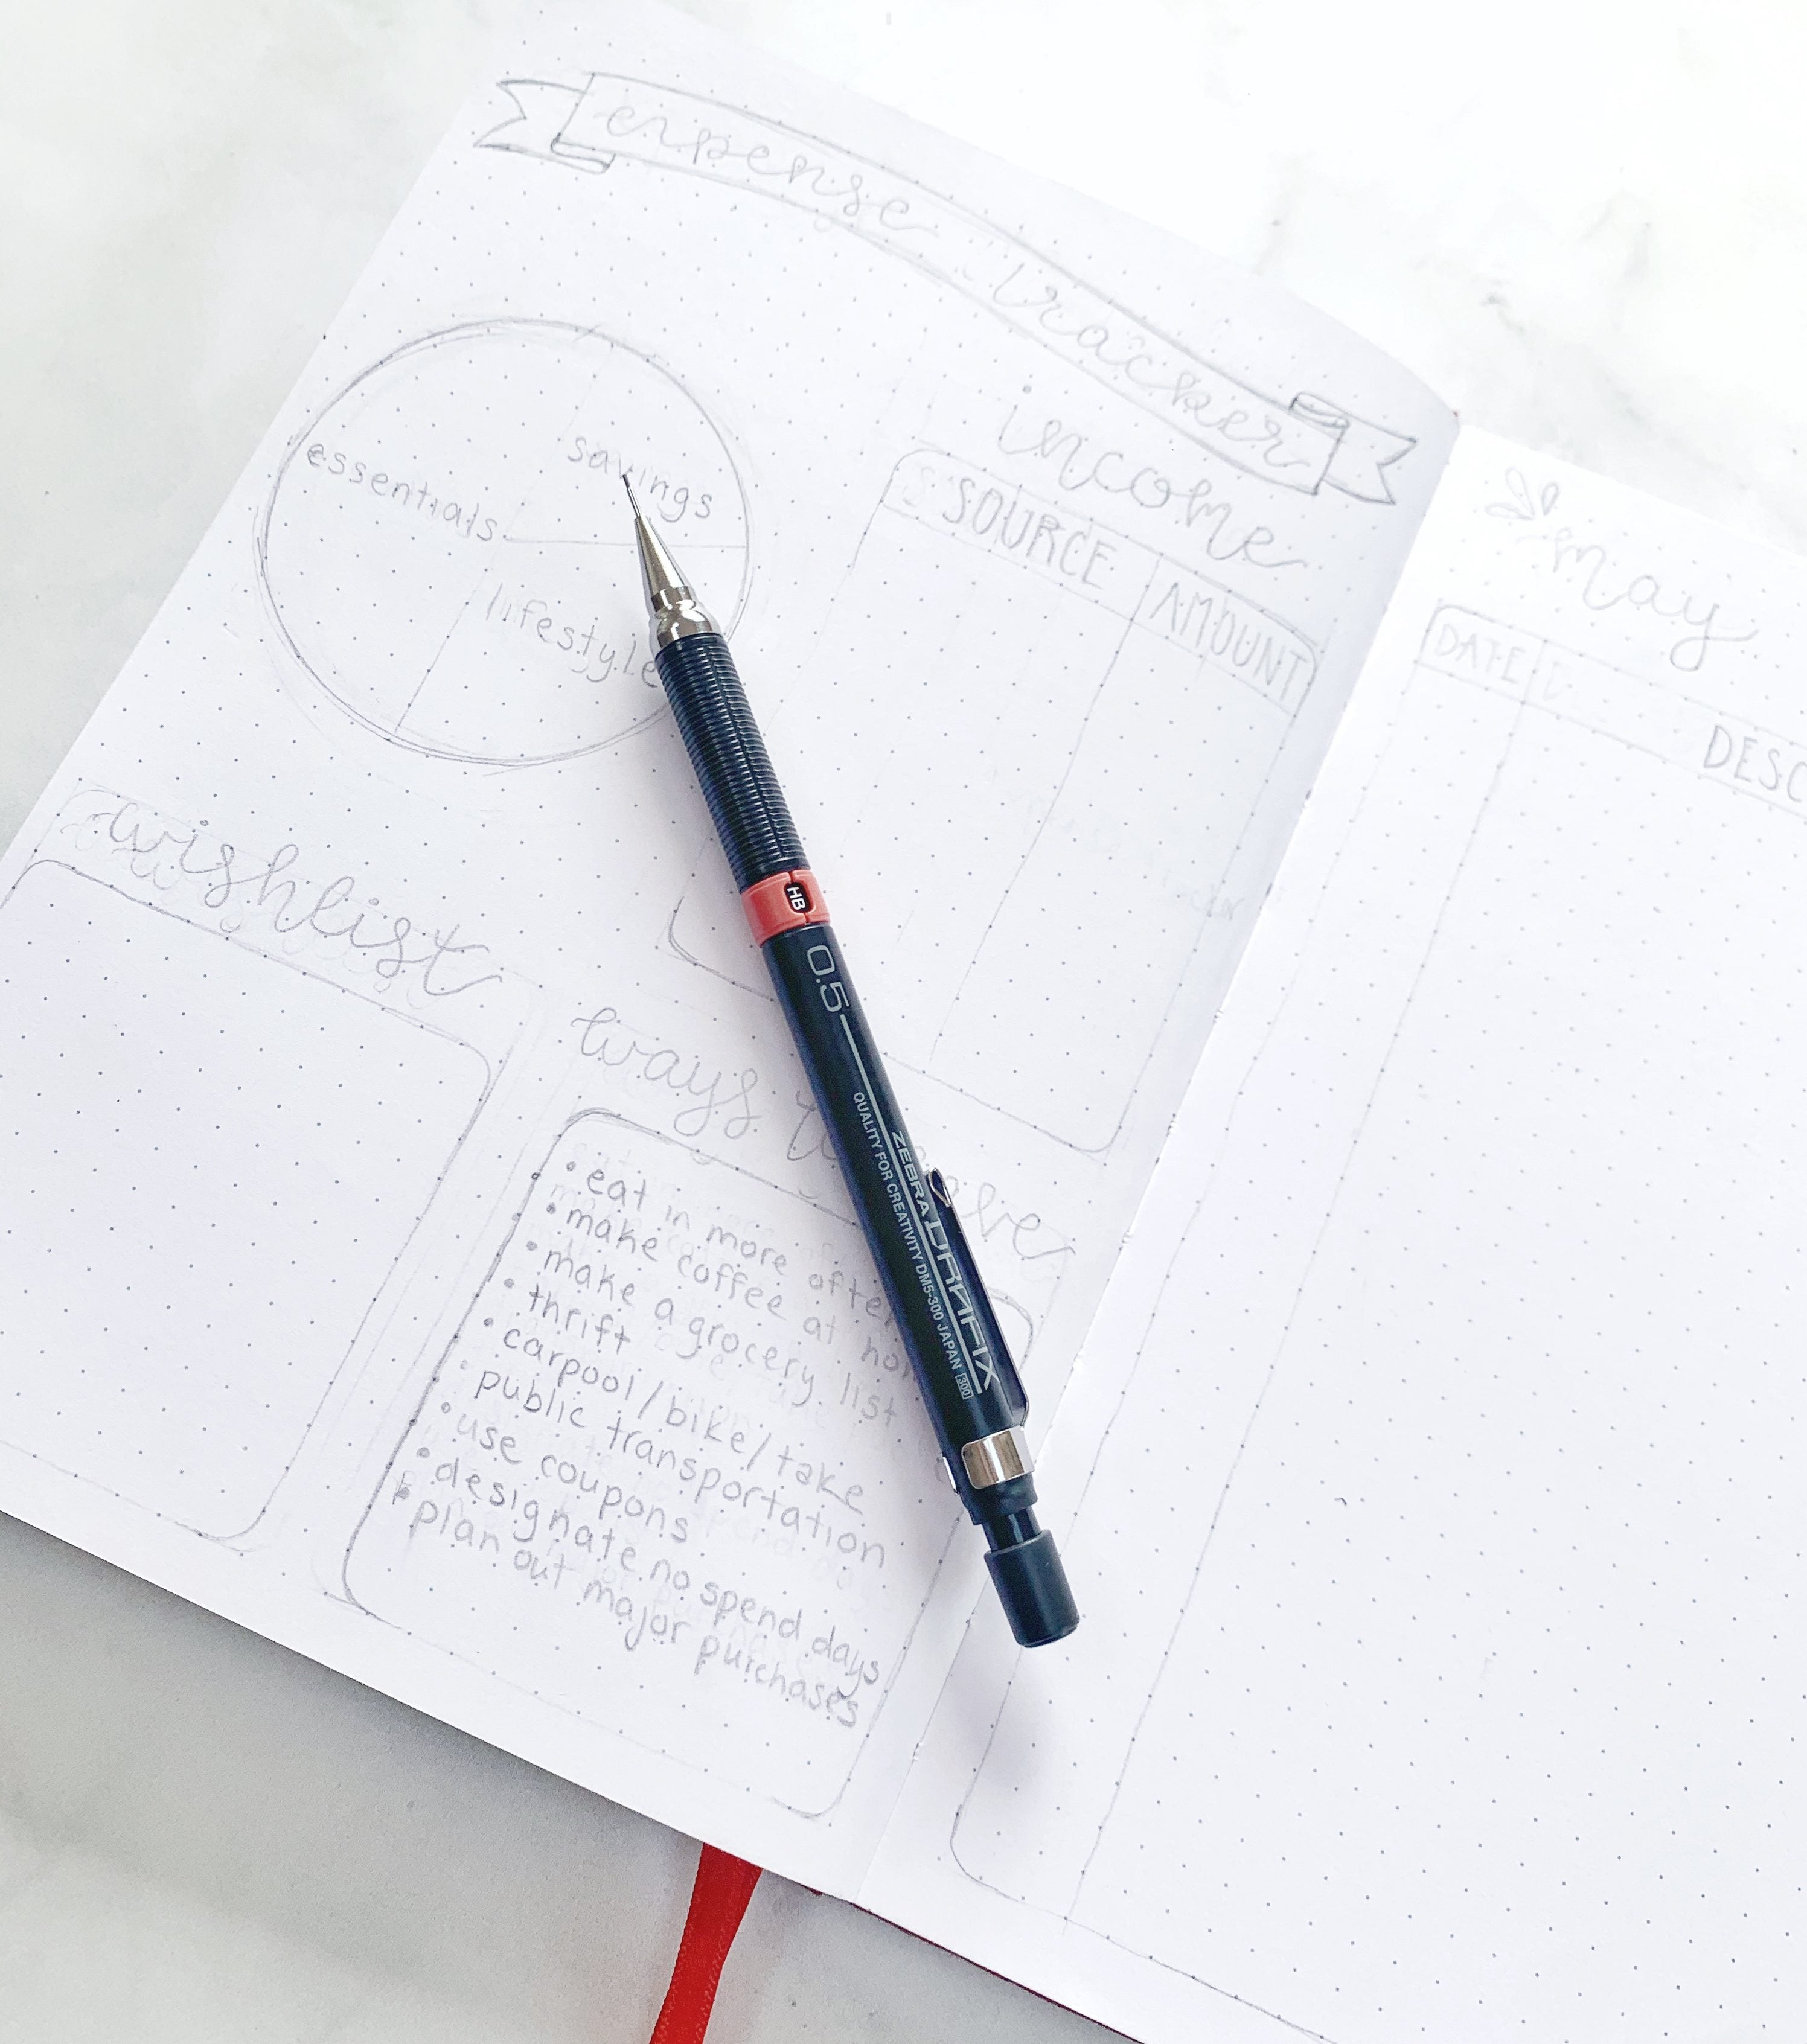
Take your current bullet journal or notebook and open it up to a blank, 2-page spread. Using the Drafix Technical Pencil, begin to sketch out your tracker. I always like to use pencil in my journal first so I can get a visual on how I want my spread to look, and make sure I’m satisfied with it before I use a pen. The Drafix Technical Pencil is perfect for this because it’s super comfortable with a textured grip, the lead is nice and light, and there’s a handy eraser at the end to fix any mistake.
On the left page, I created a banner title along the top. Right below, I sketched out a pie chart to remind myself of the 50/20/30 budget rule—50% of income should go to essentials like rent, food, and utilities, 20% should go to savings, and 30% should go to personal spending on things like eating out, shopping, or entertainment. Right next to this, I made a chart where I will be tracking income throughout the month, so I know how much money I’m earning. I also made a box for wish list items, so I have goals for specific things I am trying to save for. The last box on this page has suggestions for quick and easy ways to save money, such as eating in more often or designating certain days of the week to not spend money. Feel free to come up with your own ideas you or write down some of my suggestions!
On the right page, I drew my spending log for the month. It has three columns which include the date, description of purchase, and how much money was spent. I’ve found that when I have to physically write down all of my purchases, I’m more mindful about spending my money and tend to make fewer impulse buys.
Step 3: Outline in Pen and Add Brush Lettering
For this step, I used my Zensations Technical Pen to outline all of the boxes I sketched out in the last step. I absolutely love this pen and use it frequently in my spreads. It’s thin and precise, and I never have to worry about it running or smearing, especially when using it with colored markers, highlighters, or even watercolors.
I used the Zensations Brush Pen for my titles, although writing them out in a normal font is also fine if you don’t know how to brush letter. This pen is really versatile because of its double-ended feature and can be used for smaller, controlled brush lettering as well as larger, bouncier lettering.
Step 4: Add Color!
This is always the most fun part of bullet journaling for me and it really brings everything together. Stick to around 2-4 colors, so the page is cohesive and doesn’t look too overwhelming. I chose the gold, green, blue and gray colors from the Mildliner Double Ended Brush Pen and Mildliner Double Ended Highlighter packs. Together, I thought the colors complemented each other well and reminded me of springtime. The Brush Pens are not only good for lettering, but also for coloring in larger spaces, such as the pie chart budget and the banner title. I used the gray Mildliner primarily to highlight every other line of my boxes so there is some differentiation. Overall, the Mildliners are probably some of my favorite pens that I own because they come in a fun variety of colors, last for a long time, and never bleed.
Step 5: The Finishing Touches
This step is your chance to get as creative as you like. I added drop shadows to each of the boxes and all of my brush lettering, but you could also experiment with little doodles and other embellishments.
Now you’ve successfully created an expense tracker to keep you on track for your financial goals! I hope you found this helpful and for more inspiration, check out my Instagram @abulletjournaladay and other Zebra blog posts, like How to Create a Habit and Mood Tracker in Your Bullet Journal.